Monday, April 19, 2010

Homemade Granola

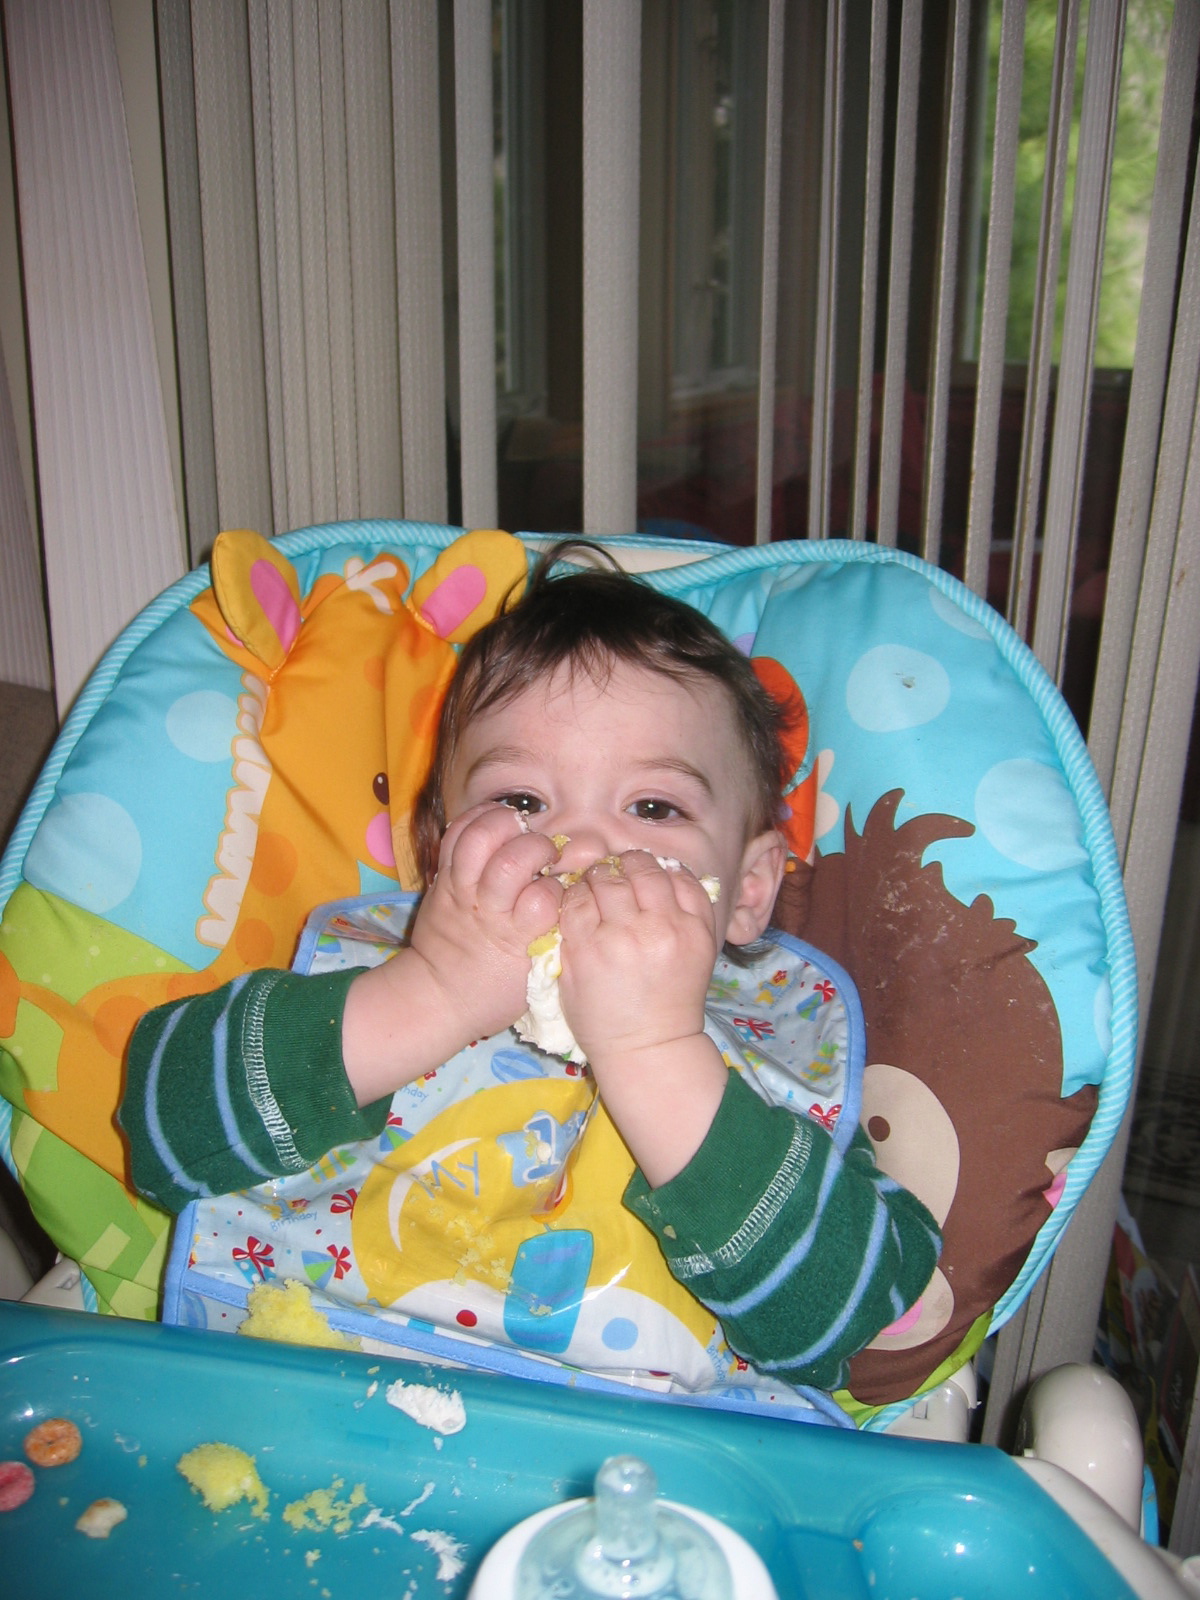
A couple of weeks ago I had a weak moment at my local BJ's and bought something I normally don't buy...granola. It looked so tasty and I was thinking it probably is a some what healthy treat. Well little did I know that the baby would be in LOVE with it. He just inhaled it like he would never get it again...and it even stopped him from crying a couple of times.

I made my own granola a long time ago and thought it was about time to make some again. I was pretty sure I used the Alton Brown recipe that is on the food network's website. Of course after I made I remembered where I have the recipe that I made the last night but not big deal.


Homemade Granola

3 cups rolled oats
1 cup slivered almonds
3/4 cup shredded sweet coconut
1/4 cup plus 2 tablespoons dark brown sugar
1/4 cup honey
1/4 cup vegetable oil
3/4 teaspoon salt
1 teaspoon cinnamon
1 cup raisins

Directions
Preheat oven to 250 degrees F.

In a large bowl, combine the oats, nuts, coconut, and brown sugar.

In a separate bowl, combine maple syrup, oil, and salt. Combine both mixtures and pour onto 2 sheet pans. Cook for 1 hour and 15 minutes, stirring every 15 minutes to achieve an even color.

Remove from oven and transfer into a large bowl. Add raisins and mix until evenly distributed.

Review: I have been wondering why sometimes granola is so expensive in the stores to buy. The recipe I made I tweaked with the ingredients I had in the house...the original one called for cashews as well and for maple syrup but I decided to use honey instead. One reason for the honey is because every time William eats some with maple syrup he smells like that for days. I can understand if you put everything under the sun and use really good ingredients why the cost is so high. I really like this recipe because it can be customized to your taste and what you have in the house...like most of them. I think once we are done with this batch I will have to try a different combination out.

Monday, April 12, 2010

Black Bean Burgers

This has been on my list of Recipes I Want to Try for a while now. I have been trying to make some healthier meals and thought this one was a good one to try. I used to buy veggie burgers all the time in the past but I like the idea of making one myself. The other best part about this recipe is 99% of the time I have all the ingredients in the house.


Black Bean Burgers
allrecipes.com


1 (16 ounce) can black beans, drained and rinsed

1/2 green bell pepper, cut into 2 inch

1/2 onion, cut into wedges

3 cloves garlic, peeled

1 egg

1 tablespoon chili powder

1 tablespoon cumin

1 teaspoon Thai chili sauce or hot sauce

1/2 cup bread crumbs


1. If grilling, preheat an outdoor grill for high heat, and lightly oil a sheet of aluminum foil. If baking, preheat oven to 375 degrees F (190 degrees C), and lightly oil a baking sheet.

2. In a medium bowl, mash black beans with a fork until thick and pasty.


3. In a food processor, finely chop bell pepper, onion, and garlic. Then stir into mashed beans.

4. In a small bowl, stir together egg, chili powder, cumin, and chili sauce.

5. Stir the egg mixture into the mashed beans. Mix in bread crumbs until the mixture is sticky and holds together. Divide mixture into four patties.


6. If grilling, place patties on foil, and grill about 8 minutes on each side. If baking, place patties on baking sheet, and bake about 10 minutes on each side.


Review: Like I said above this is a great recipe because I have all the ingredients in my house already. A great last minute meal if i can't think of anything else to make that night. The flavors of this "burger" are really great and totally addicting to me. We used the leftover avocado cilantro mayo as a condiment which was a great accompaniment. This recipe is a keeper!


If you go on allrecipes.com and read the reviews some people had the problem of them falling apart which I sort of did as well. Not sure if it needs more bread crumbs or maybe another egg to bind it together a little bit better. I did end up making them about 2 hours before I was going to bake them in the oven and had them in the refrigerator which probably helped a little bit. Honestly I would never think of cooking these on the grill because I can just see a mess happening. I would love to make these into like "meatballs" and bake them in the oven...serve them up falafel style.

Thursday, April 8, 2010

Apple & Sage Pork Chops

I have been eying this McCormick Recipe Inspiration spice packets for a few weeks now. The idea of pre-measured spices just seems easy and fun to me. I acutally was going to the make something with pork chops and saw they had one for that. They were also on sale this week so it was just meant to be.

Sorry I forgot to take a picture of the final result because I did not eat it right away and before I knew it it was all gone.

Apple & Sage Pork Chops
McCormick

1 tbsp Flour
1 tsp salt
1 1/2 tsp dried Rubbed Sage
1 tsp dried minced garlic
1 tsp dried thyme leaves
1/2 tsp ground allspice
1/2 tsp paprika
4 boneless pork chops, 1" thick (about 1 1/4 lbs)
2 tbsp olive oil
1 medium onion, thinly sliced
2 red apples, thinly sliced
1/2 cup apple juice
1 tbsp brown sugar

Directions:
1. Mix flour, all of the spices and salt in small bowl. Sprinkle both sides of pork chops with 1 tablespoon of the seasoned flour.

2. Cook pork chops in hot oil in large skillet on medium-high heat until browned on both sides. Remove from skillet. Add onions; cook and stir 3 minutes or until tender. Add apples; cook and stir 2 minutes.

3. Stir in juice, sugar and remaining seasoned flour until well mixed. Return pork chops to skillet. Bring to boil. Reduce heat to low; cover and simmer 5 minutes or until desired doneness.

Review: I really enjoyed this dish and thought it was super yummy! It really did not take much time to make it which is always nice. I made a couple of little mistakes but nothing that really changed the recipe or results. I used bone in pork chops because that is what I had in the house already. I also used all the flour mixture on the pork chops instead of only 1 tablespoon because I misread the directions. I plan on making this again...it is a keeper.

Tuesday, April 6, 2010

Avocado-Cilantro Mayonnaise

I am on this quest to make my own Mexican style food lately. Not sure why but it could have something to do with the nice weather we have been having lately. I have made it one of my summer goals to find and perfect a recipe to make my own salsa. I came across Rick Bayless website (who is well known for his Mexican food) which has a bunch of different types of salsas to try.

I did try to make his recipe for Salsa Mexicana which was good but I think I need to try it again with really fresh ripe tomatoes from my garden. With the leftover cilantro I had I made this recipe I also find out his website for Avocado-Cilantro Mayonnaise.


Avocado-Cilantro Mayonnaise
Rick Bayless

1/2 cup top-quality mayonnaise
1 avocado, pitted, flesh scooped from the skin
1/4 cup (loosely packed) roughly chopped cilantro

In a food processor, combine the mayonnaise, avocado and cilantro. Pulse until mayo and avocado are thoroughly combined. Taste and season with salt, usually about 1/4 teaspoon.

Review: I am so in love with this mayo it isn't funny. It is another one of those easy to make recipes since it only has 3 ingredients on the list and you throw it all in the blender together. The taste reminded me little bit of guacamole and the color is just so pretty. It will be awesome on a sandwich...I have to go out and get some cold cuts now to try it out with. I also wonder if I could use plain yogurt instead of the mayo to make it a little bit healthier. This one is a keeper!

Thursday, April 1, 2010

How a 1 Year Old Eats A Cupcake

I thought I would share with you the pictures I took of William eating his birthday cupcake. I knew he would love it but I had no idea how funny it would be to watch him eat it. I just picked out his cake for the family party...white cake with cannoli filling!

The beginning

The middle (and my favorite picture)

The End!

He did seem to have a little sugar high after he ate it but I am really not sure how much he actually ate. Since most if it was on his hands and face...oh and in his lap.

Monday, March 29, 2010

Bye Bye Grease

I know this probably isn't the biggest discovery in the world but it totally made my day last week...I really need to get out more...when I got the grease stains out of a shirt.

Mike has a nice forest green polo shirt that he liked to wear to work. He was very upset when he got grease stains all over it...if I had to guess it was a trip to the Chinese buffet that did it. He had me buy some kind of detergent that he heard might get it out. That did not work and so I was off on another internet search for a solution.

I found two things that was suppose to work on grease stains. One was to use a bar of Ivory soap that you get a little wet and rub on the stain. The other (which was the one I did) was to take some dish soap and rub that on the stain...let it sit for a couple of minutes and then wash as normal.

I was SHOCKED that it actually got all the stains out and those stains where set in...from a few wash and dry cycles of trying other stuff out. I am not looking for other grease stain shirts to try this out on because I know I have a few of those in the draw.

Tuesday, March 23, 2010

Happy Birthday William!

I can't believe it has already been 1 year with my little guy. Well I guess he isn't so little anymore but he will always be my baby!

Monday, March 22, 2010

1st Birthday Party

Tomorrow is my babies 1st birthday...I can't believe it has been a year already. I truly can't imagine my life without my 2 boys....I should say 3 boys. What would a moment be like this without some kind of celebration!

My house is not big enough to have everyone over for a good old fashion family party. If this was the summer I would have done something outside in the back yard but March/April is too unpredictable with the weather and it is still a little cold.

I picked a nice seafood restaurant to have everyone at for a few of reasons. One it is a really nice place very close to the house and the food is always good. Two we have a bunch of people who are on diets and restrictions where the fish doesn't make them feel like they are left out. Last but not least they serve hot popovers with strawberry butter...a family favorite!

Now that was done I needed to send out the invitations and pick a theme. I don't have to do much decorating at this place because they have a nice theme already going. Also I didn't want to pick any random old thing because the birthday boy can't really tell me what he wants. So Heidi and I thought about it for a minute...he LOVES animal crackers. I mean LOVES them...they are like a drug to him. It is the thing that keeps him happy and quiet in stores...doctors visit..car...you name it.


This is what we came up with for the invitations that I sent out to our family and friends:

The other side has all the party information with the top line saying: I can't believe it has been a year, William's first birthday is already here!

What I did was bought the boxes of animal cracker and cut the two sides off of them. Print the wording on card stock and used double sided tape to put it onto the box sides. I also included the string from the box on half of them and another type of string on the other half...to make it look like the animal cracker box.

Next thing to figure out is the favors...I have an idea I just need to see if I can find all the supplies.

Tuesday, March 16, 2010

Guinness Corned Beef

I was smarter this year then last year and bought my corned beef earlier then a couple of days before St Patrick's Day. Also with the way Mike has been working lately I decided to make our corned beef dinner on Sunday so we can all enjoy it together.

I usually make the recipe that is in the cookbook How to Cook Everything on page 439 for Corn Beef. It always comes out great and really the way I always have thought corn beef should come out. This year I found another recipe while I was searching for other Irish recipes and decided to give it a try.


Guinness Corned Beef

allrecipes.com

Ingredients
4 pounds corned beef brisket
1 cup brown sugar
1 (12 fluid ounce) can or bottle Irish stout beer (e.g. Guinness®)

Directions

Preheat oven to 300 degrees F (150 degrees C). Rinse the beef completely and pat dry.

Place the brisket on rack in a roasting pan or Dutch oven. Rub the brown sugar on the corned beef to coat entire beef, including the bottom. Pour the bottle of stout beer around, and gently over the beef to wet the sugar.

Cover, and place in preheated oven. Bake for 2 1/2 hours. Allow to rest 5 minutes before slicing.

Note: During the last hour, you may put vegetables in the roasting pan as well. Try a wedge of cabbage, new potatoes, onion, carrots, etc. You may need to add a little more beer with your vegetables

Review: Oh my goodness this was THE best corned beef I have ever had or ever made! Like Mike said what gets more Irish then cooking meat in beer. I don't know why I never thought of it before but it makes perfect sense in a way. I did what a lot of people said in their reviews and cooked it in my crock pot. Most people seemed to have cooked it on low for 8-10 hours. I didn't have the time to do that so I cooked it on High for 4 hours and then added an extra 1/2 hour because I tossed in some carrots and potatoes. I also used larger cans of Guinness because I always buy the 4 pack that they sell at the supermarket. Another thing that most people stated in their recipes is that they used at least 2 cans when they put it in the crock pot (you need enough to cover the beef). I think I might have been able to get away with one but using two gives you a lot of leftover liquid which is better if you want to cook the veggies at the end. This is definitely a keeper and I sort of want to make it again but I will be good and keep it for that once a year treat.

Friday, March 12, 2010

Matzo Balls

Everyone has one of those family recipes that you want to make yourself but when you do it just never comes out the way your Mom or Grandmother makes it. Well today I was going to put an end to that problem I have with my Mom's matzo ball recipe.

This recipe isn't like the matzo balls you find at the diners or how most people make them. This is made using the whole matzo and not from a mix or from using just matzo meal.

Matzo Balls

makes about 20 balls

3 matzos

2 eggs

1 onion, finely chopped

2-3 tablespoons Schmaltz (chicken fat, see note below) or vegetable oil, more as needed

dash of nutmeg

dash of ginger

salt, to taste

black pepper, to taste

matzo meal


1) Break the matzo up into pieces and then add enough hot water to cover them. Let them soak in the water for about 2-3 minutes. You just want to get to soften up a little bit but not to the point where they are water logged.


2) Drain the water and set aside.


3) Heat a frying pan over medium high heat and add the schmaltz/chicken fat. Wait until it is all liquid and then add the onions. You might need to add more fat to the pan if there isn't enough for the amount of onions you used.

4) You want to cook the onions until they brown but not burnt.


5) Once the onions are brown add the drained matzo to the frying pain. This is to dry them out a little bit. Stir and cook for about 4 minutes.


6) Transfer this mixture to a bowl add the dash of nutmeg, a dash of ginger, some salt and some pepper to taste. Stir to combine and also to break up the matzo a little bit more. Add the eggs and stir to combine (before you add the eggs make sure the mixture has cooled down a little bit so you don't cook them).

7) Now add enough matzo meal to the mixture so when you roll the balls they keep their shape. (It is just like adding bread crumbs when you make meatballs).


8)
Once you have everything combined you are ready to roll your balls.


You can make them whatever size you like but remember they expand a lot when you cook them. My mom likes to make 1" balls.


9) Have your soup at a boil and drop the balls in...once they float to the top they are done cooking.


My mom has been making them ahead of time and freezing them. She cooks them in water with some chicken bouillon, drains them really well and then puts the cooked balls into a container in the freezer. She takes them out that morning lets them defrost a little bit and add them to the boiling soup just before serving.


Cooked balls that have been drained and getting ready for the freezer

Note: The schmaltz in this recipe isn't require but it does add a nice flavor. The way my mom gets her schmaltz is from the chicken soup she makes. It is the stuff that hardens on the top of homemade chicken soup after you put it in the refrigerator for a while. She just takes it off and saves it in a container in the freezer for later use.


Helpful Tip: Before you roll all your balls out and cook them...make a small one and taste it to make sure they are seasoned well and have enough salt and pepper. Adjust the seasoning if needed...once that is done then roll them all out.
Also this recipe is great for that one box of matzo you have leftover from last year.

Review: To me this is what a REAL matzo ball looks like and the taste doesn't compare to the other stuff. The onions add a nice flavor and texture to them. When made right they are not dense but light and sometime I would even say fluffy. This is comfort food for me because it doesn't get any better then a nice hot bowl of matzo ball soup!

LinkWithin

Related Posts with Thumbnails